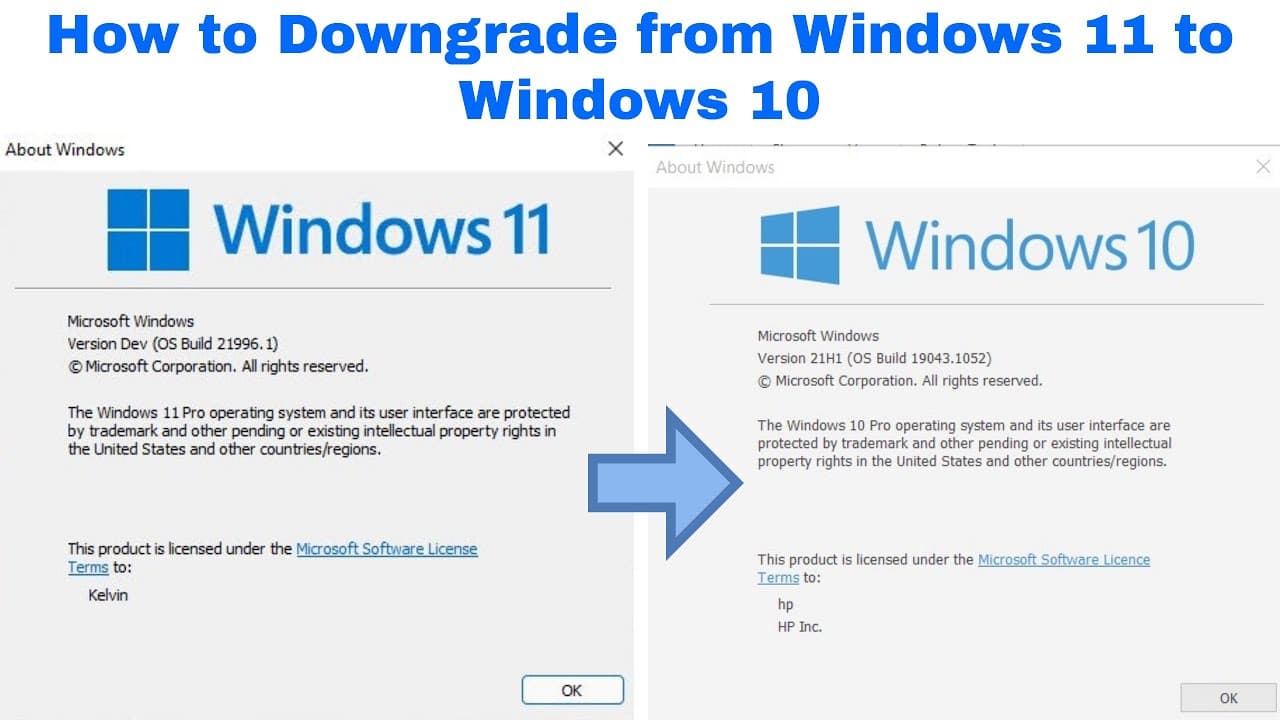
If you recently updated to the newest Windows but are facing problems or like the older version better, you might want to switch back from Windows 11 to 10. We’ll guide you through the process to ensure you return to the previous version of Windows while keeping your data and programs safe.
Switching from Windows 11 to 10 is generally easy, but you might face problems with specific drivers and applications when downgrading.
Here’s a basic overview of the process. First, back up your data. Then, obtain the Windows 10 installation files, start the installation media, and complete the installation by selecting the drive where you want it. Here, we explain ways to switch from Windows 11 to Windows 10.
Method 1: Downgrade Windows 11 to 10 Within 10 Days
The Rollback feature in Windows allows you to return to an earlier state if you face problems or want to undo changes made within 10 days of upgrading to Windows 11.
It’s essential to understand that Rollback doesn’t solve every issue or undo all changes. Still, it can be useful for restoring your system if necessary.
Remember that using Rollback will erase any updates or changes made after the selected point, so you might need to reinstall apps or updates after going back to Windows 10.
- Press “Win+I” to open settings.
- Click on “System.”
- Go to the right side of the screen to find the Recovery page.
- Click “Go back” in the “Recovery Options” section, but remember, this option is only available within ten days of installing Windows 11.
- Choose a reason for uninstalling Windows 11.
- Click “Next.”
- Choose “No, thanks.”
- Keep clicking “Next” until you see the “Go back to Windows 10” button. Click on it.
After these steps, Windows 11 will be removed, and Windows 10 will be restored, keeping your data, most settings, and most programs intact.
Method 2: Downgrade Windows from 11 to 10 After 10 Days
Certainly, here’s a simpler version:
If it’s been more than ten days or the previous option isn’t available, you can reinstall Windows 10. Make sure to back up your data first.
- Go to the Microsoft website and get the Windows 10 installation media.
- Click “Download Now” under “Create Windows 10 installation media.”
- Open the downloaded file.
- Click “Yes” to give the application permission.
- Accept the terms and conditions.
- Choose “Upgrade this PC now” and click “Next.”
- The latest Windows 10 version will be downloaded.
- After the download, click “Next” and accept all options.
- Choose “Nothing” under “Choose what to keep” and click “Next” to remove all files.
- Click “Install” on the “Ready to install” page to start the process.
The Windows Fresh installation is straightforward and won’t take long. Note: Once it starts, you can’t go back.
What are the Disadvantages and Issues of Windows 11
Windows 11 has received positive feedback from many users, but it has also faced criticism. It’s crucial to understand that these criticisms are personal opinions, and not everyone has the same viewpoint.
For some users, these criticisms may come as a surprise or lead to disappointment as they explore the features of the new operating system.
People need to know about some possible downsides of using Windows 11. One concern is that it might not work well with software or hardware that is not completely compatible with it.
Here are some important downsides of Windows 11 that might explain why someone could decide to go back to Windows 10.
Also, Read This: How To Remove Suggested On Messenger
Tough Hardware Needs
Honestly, Windows 11 has surprisingly low requirements, like a 1GHz CPU, 4GB RAM, and 64GB storage seemingly from a decade ago. However, there are three specific challenging hardware demands:
- The CPU needs to be quite recent, within the last three years.
- It’s suggested to have a Trusted Platform Module (TPM) security chip installed.
- The computer’s firmware must support Secure Boot.
Compatibility Problems
Even if your computer has a strong GPU, running Windows 11 might not be possible. Microsoft says Windows 11 needs the latest hardware for optimal performance, and the main problem lies in compatibility with TPM 2.0 chips.
While newer CPUs come with this chip, many older processors don’t have it. Consequently, devices older than the 7th generation cannot have Windows 11 installed on them.
FAQs
Yes, it is possible to downgrade from Windows 11 to Windows 10. However, the process involves a clean installation of Windows 10, meaning you will need to back up your data, create installation media, and perform a fresh installation of Windows 10.
Yes, downgrading requires a fresh start, which means everything on the main drive will be deleted. It’s important to save your important files before beginning the downgrade. Make sure you have duplicates of your documents, pictures, and other crucial data stored on an external drive or in a cloud service to prevent permanent data loss. Additionally, you’ll have to reinstall applications and programs after the downgrade.
Conclusion
We covered a step-by-step guide on moving from Windows 11 to Windows 10. We hope it was helpful, and if you believe it could assist others, feel free to share. Thanks!
